Last Revised: 12/6/2024
Is your home ready for winter? Did you know that neglecting plumbing maintenance can lead to frozen pipes?
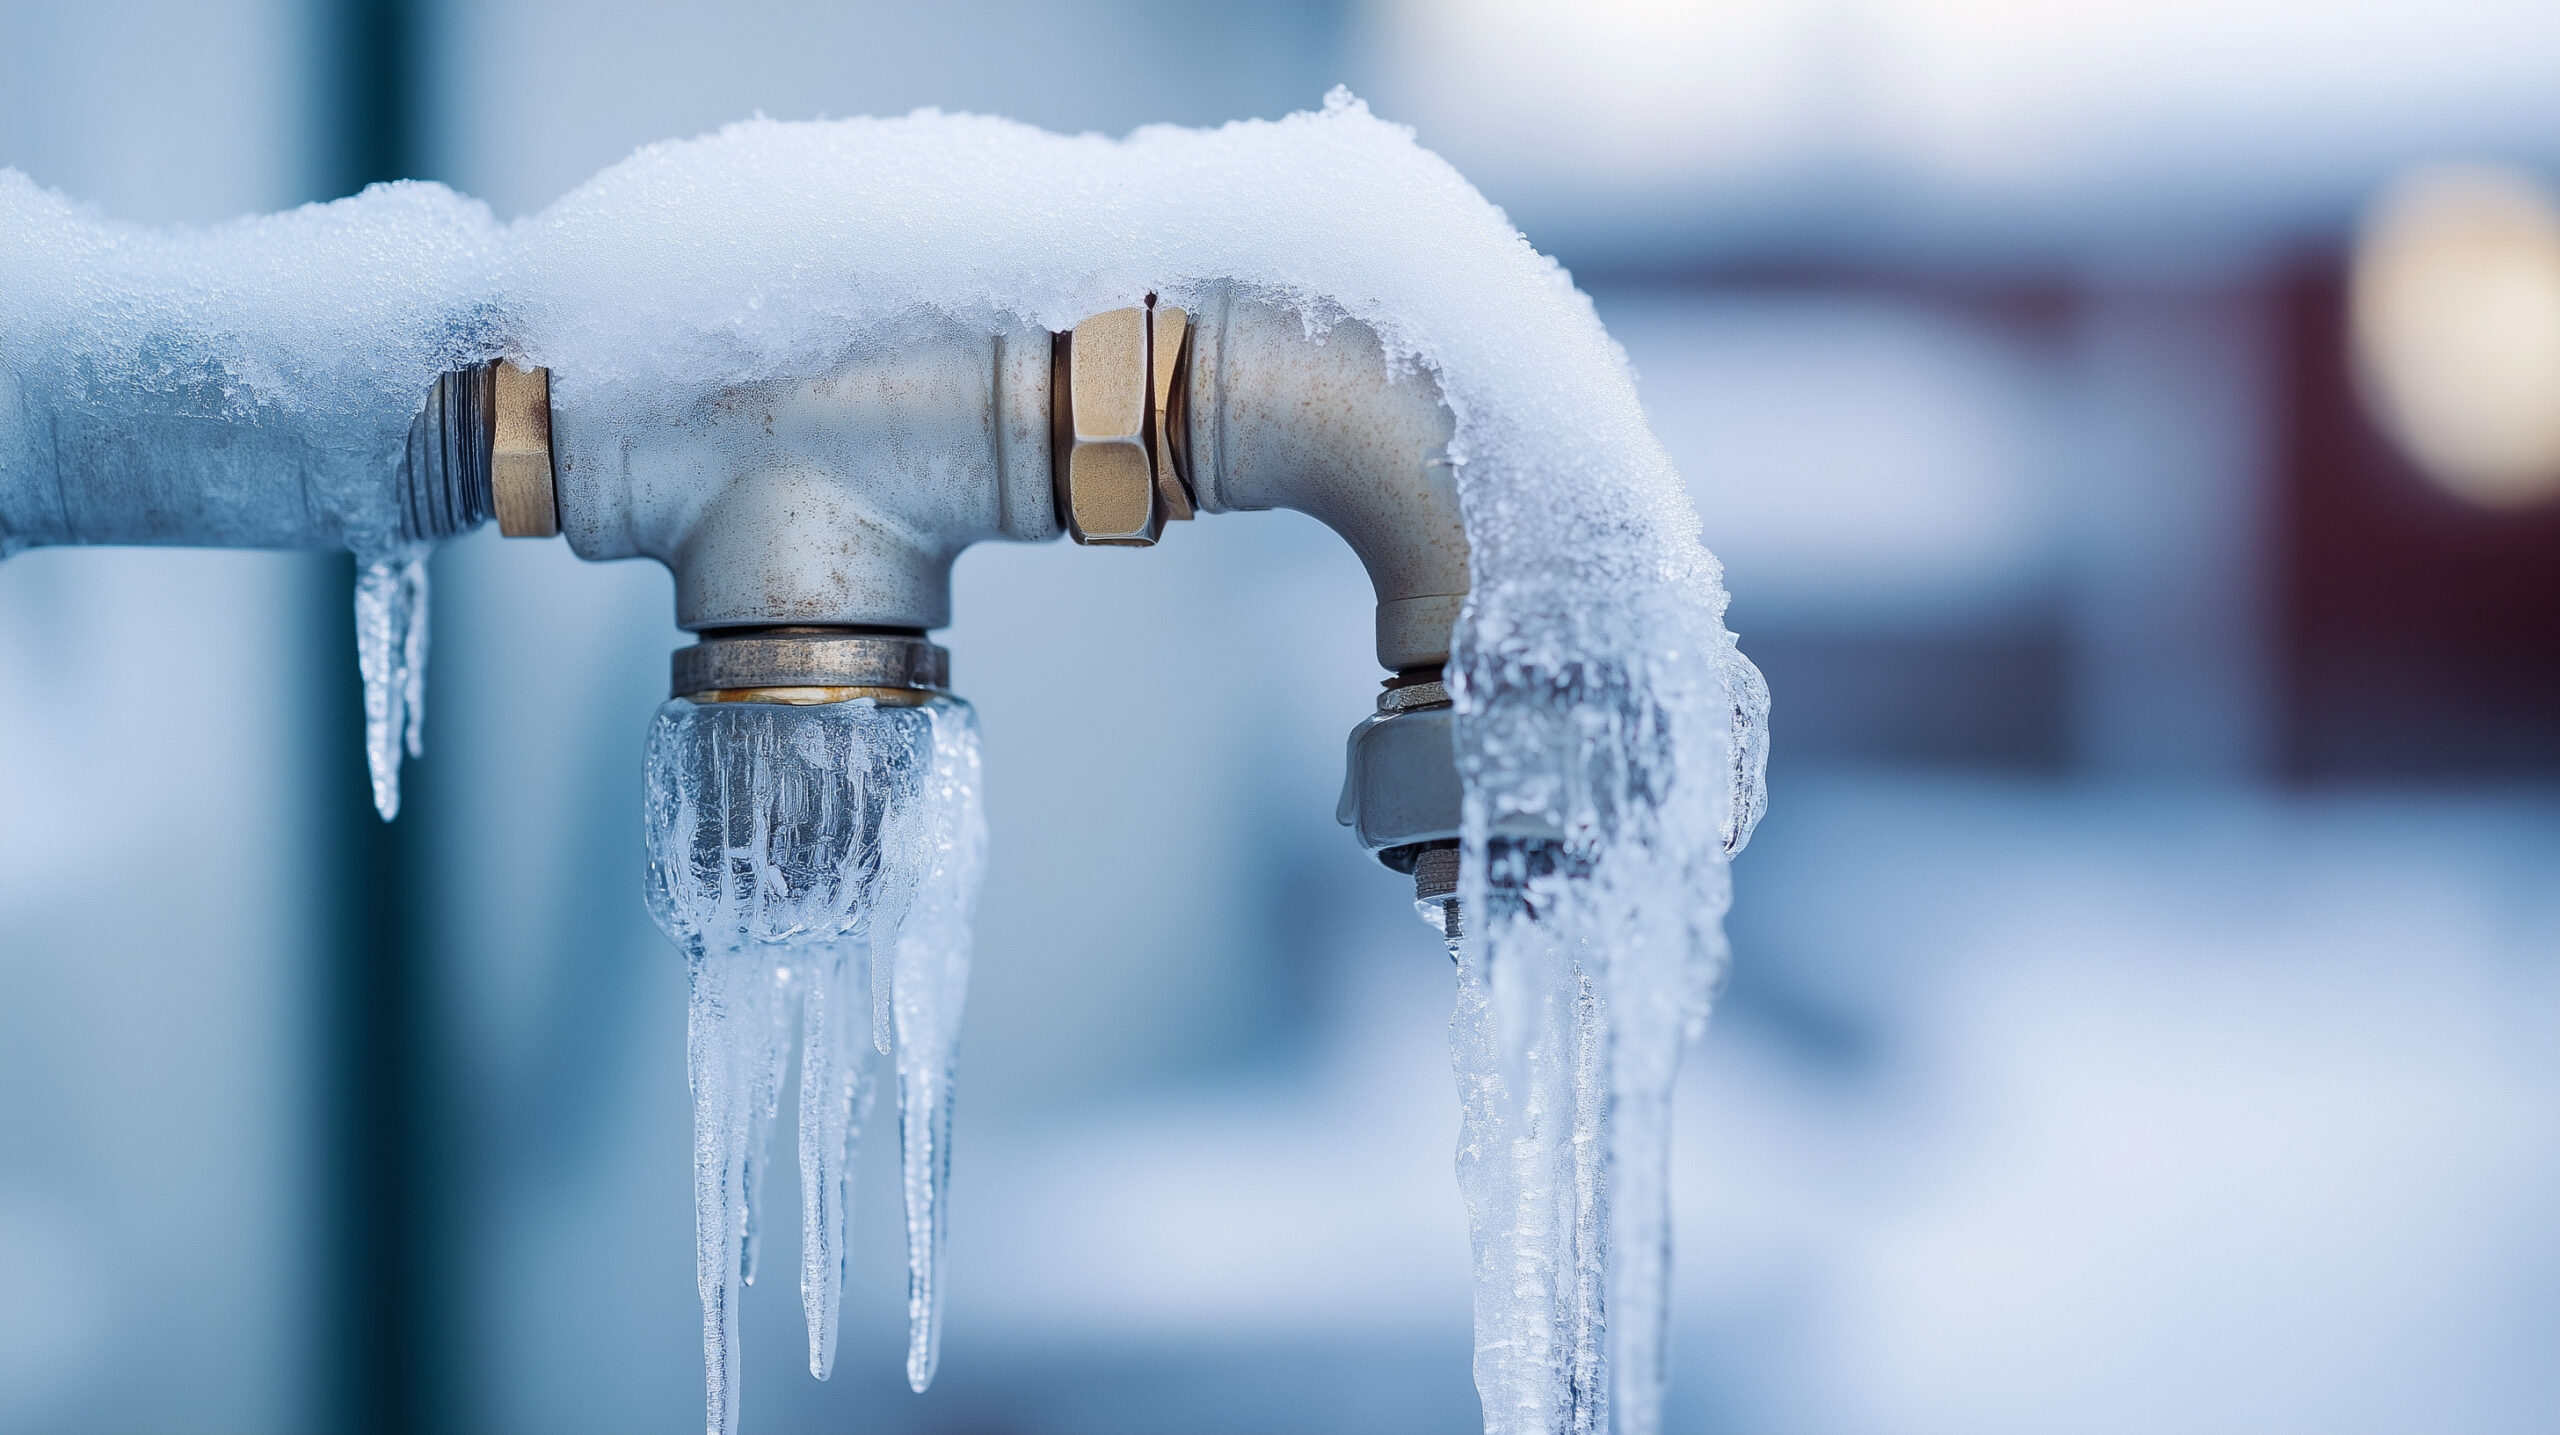
As winter approaches, the risk of frozen pipes isn’t only a potential inconvenience – it’s an expensive catastrophe waiting to happen. Frozen pipes are highly susceptible to bursting, which can cause devastating flooding damage and very costly repairs.
Frigid winter temperatures will also exacerbate some other common plumbing issues such as clogged drains and water heater inefficiencies if they’re left unaddressed. To keep your home safe and protect your plumbing infrastructure, it’s essential to perform a few key maintenance tasks before the coldest months set in.
For over 76 years, Mattioni guided homeowners in safeguarding their plumbing against frigid winter temperatures – and we’re here for you too.
This article will guide you through a comprehensive checklist to winterize your plumbing and protect your home from an avoidable disaster. Whether you’re a seasoned DIYer or a new homeowner learning the ropes, these tips will help you safeguard what matters most – your home.
As the winter chill sets in, set some time aside to follow this guide – it’ll help prevent unexpected repairs and prevent any stoppages in water access. Let’s dive into the essential tasks you can tackle today to officially winterize your plumbing.
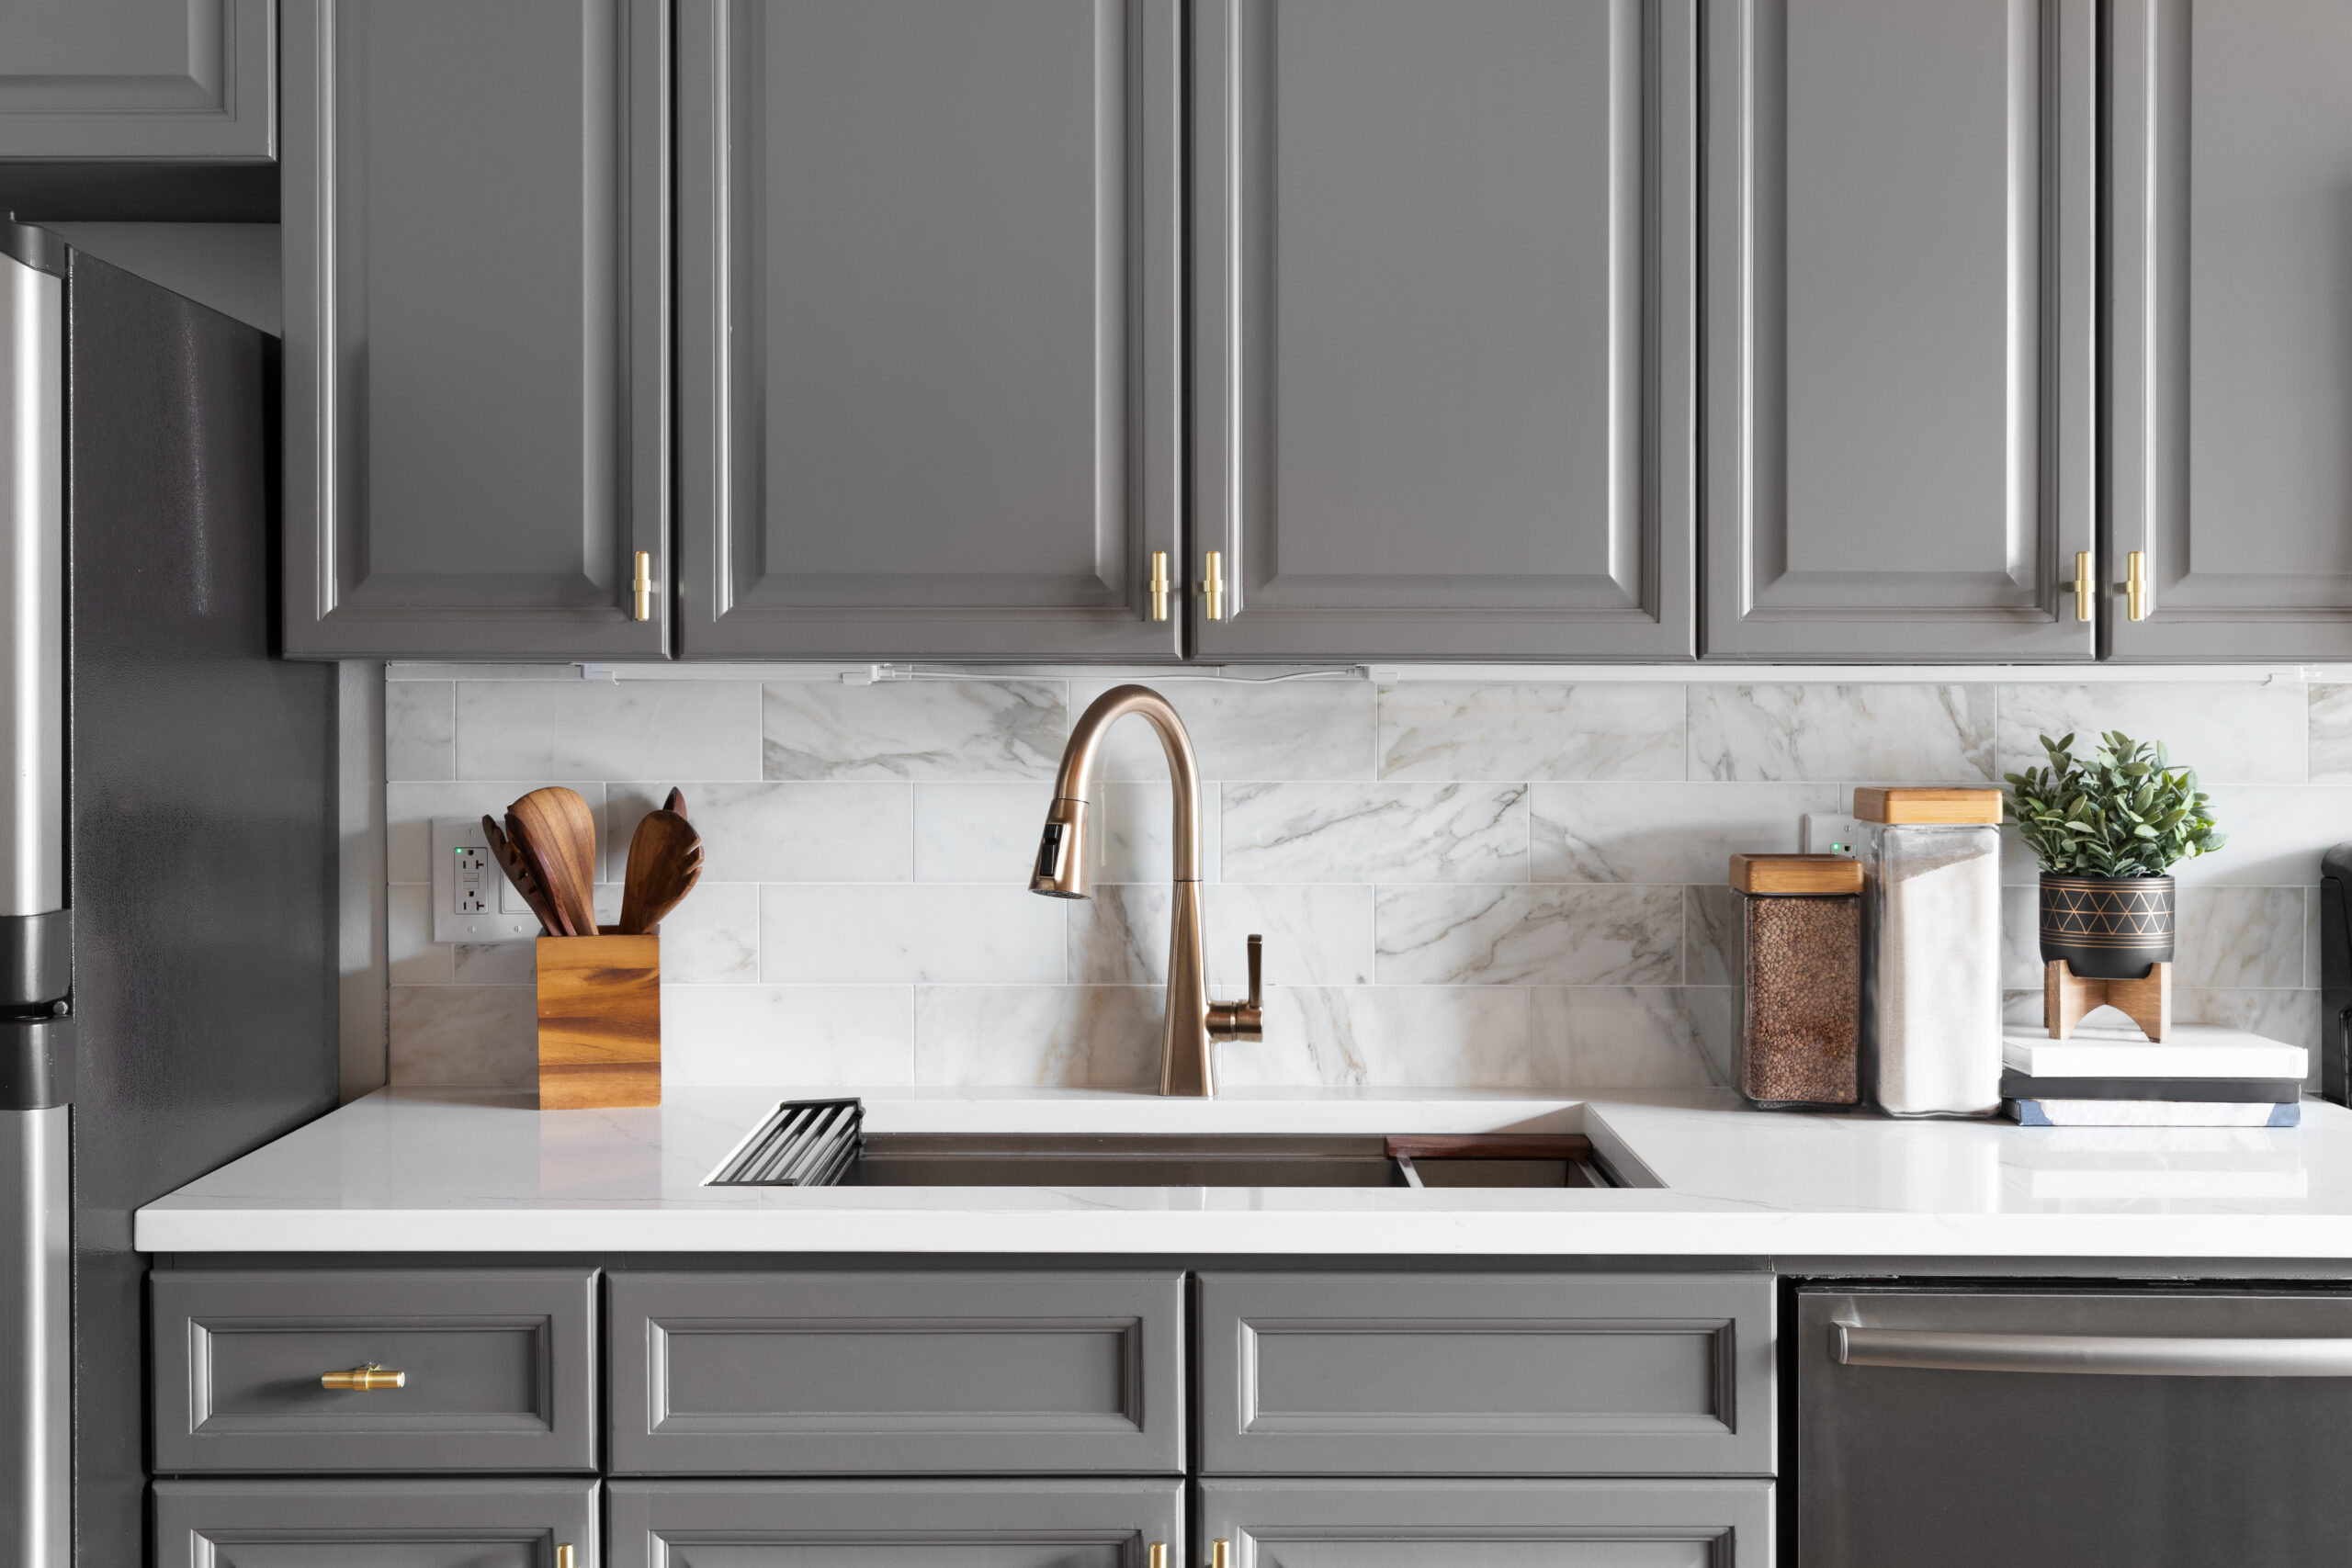
Prepping your Plumbing for Winter: The 8-Step Checklist
1. Check for Leaks
Before the winter chill arrives, inspect your plumbing system for any visible leaks in faucets, pipes, and connections. Even a small leak can worsen during freezing temperatures and lead to catastrophic damage.
Check your basement, crawl spaces, under sinks, and other access points to your plumbing. Look for any water stains, corrosion, or moisture around joints, which can indicate a hidden leak or a future leak.
If you aren’t confident in your personal inspection or believe there may be large portions of your plumbing that aren’t easily accessible, a professional inspection by a plumber may be beneficial.
Very minor leaks may be sufficiently addressed with plumber’s tape, while more substantial leaks likely require a pipe replacement which could require professional assistance.

2. Insulate Pipes
Uninsulated pipes are more vulnerable to freezing, especially in areas like garages, basements, or crawl spaces. Insulating your pipes is a straightforward measure to take that could prevent costly damage to your plumbing.
Wrap foam pipe insulation around as many exposed pipes as possible, and secure it with tape. In particularly cold areas, use heat tape, cables, or zip-ties to hold it into place. You can also insulate outdoor faucets and hose bibs with foam covers.
Insulating your pipes is a relatively simple step that will greatly reduce the likelihood of damage stemming from freezing temperatures.

3. Disconnect, Drain and Store Hoses & Watering Equipment
Ignoring your hoses or sprinklers and leaving them outside as temperatures plummet can cause them to crack from even the smallest amount of leftover water freezing within them.
As you prepare your plumbing for winter, disconnect all hoses, sprinklers, and watering tools from outdoor faucets. Drain them by simply holding one end over the other, using gravity to let as much water flow out as possible.
Store all this equipment in a warmer, dry area such as a garage, shed, or basement. This will protect your equipment from extreme temperatures and preserve their condition for spring.

4. Flush your Water Heater
Minerals and other particles can build up and settle at the bottom of the tank over time, creating a barrier between the burner and the water. This reduces efficiency and performance, increases utility bills, and can shorten the lifespan of the water heater.
Your water heater should be flushed once per year, and since it must work harder to deliver warm water throughout your house when it’s cold outside, right before winter is a good time to tackle the job.
Step-by-Step Guide to Flushing Your Water Heater
- Turn off the power supply by either turning off the breaker at the main electrical panel (for electric models), or by switching the thermostat to the “pilot” setting (for gas models).
- Find the cold water supply valve at the top of the heater and turn it off to stop new water from entering the tank.
- Connect a hose to the drain valve at the bottom of the tank and place the other end of the hose in a safe drainage area, like a floor drain or outdoors.
- Open the hot water faucet in a nearby sink or tub to avoid a vacuum from forming and let the water drain freely from the tank.
- Drain the tank by opening the drain valve or handle by hand or with a wrench. Let the water flow out until the tank is empty. Be prepared for extremely hot water to drain out, so use gloves if needed and keep children and pets away.
- Once the tank is empty, briefly turn the cold water supply at the top of the tank back on to flush out any remaining sediment. Repeat this step until the water coming out of the drain hose is clear.
- Tightly close the drain valve again, disconnect the hose, and turn the cold water valve back on to refill the tank.
- Turn the power supply back on, either at the breaker box or by turning the thermostat back to its original setting (and relighting the pilot if necessary).
- Ensure there are no leaks at any of the valves or connections.
Following this procedure to flush your tank before winter begins will help it operate at maximum efficiency throughout the coldest part of the year, when it has to work the hardest. Not to mention it’ll prevent premature failures and prolong its lifespan.
For assistance with flushing your water heater, reach out to a professional plumber.
5. Clear out Debris from all Drains
A drain clog can become susceptible to freezing in winter, leading to unpleasant surprises when the weather warms. Even a small backup, like a slow-draining sink or shower, can be exacerbated during cold weather as water becomes trapped and collects at twists and turns within pipes. If left unaddressed for the whole winter season, debris caught in your plumbing can cause pipes to burst, or expensive repairs to be needed much sooner than they otherwise would.
Do a thorough inspection of all your sinks, tubs, showers, and toilets for any signs of slow drainage. Use a plunger or drain snake on toilets, or put on some gloves and remove hair or gunk from the top of any shower or sink that’s backed up. Take a similar approach for your outdoor drainage system (gutters and downspouts), clearing any leaves, dirt, or trash that’s blocking water flow.
Once you’ve cleared all plumbing fixtures on your property, do some basic testing with running water or flushing, to ensure that all pipes are clear. For severe blockages or recurring clogs, consider hiring a professional plumber to inspect your system.
6. Blow out Pipes Leading to Outdoor Faucets
Blowing out pipes leading to your outdoor faucets should be a part of your yearly winter preparations. It’s the best way to ensure that pipes most susceptible to freezing are completely free of all water before outdoor temperatures plunge.
Step-By-Step Guide to Blowing Out Your Outdoor Plumbing
What you’ll need:
- Air compressor
- Air hose
- Adapter or coupling
- First, turn off the main water supply valve that leads to outdoor lines, including hose bibs, sprinklers, or faucets.
- Next, drain as much water as possible by opening each outdoor fixture and letting them drip for a few minutes.
- Then, locate your plumbing system’s blow-out port and securely connect the air hose to it. This process will differ from system to system. You may be able to screw a quick-connect hose adapter into the blow-out port, or you may need a coupling to make an airtight connection.
- Once you have your air compressor connected to a suitable connection point to outdoor fixtures on your plumbing system, double-check that everything is connected properly and securely. Start by opening the furthest fixture on the line and closing all others. Turn the air compressor on and blow out the pipelines to expel water one faucet at a time. Repeat this process for each fixture one at a time, ending with the faucet closest to the air compressor.
- Keep the compressor pressure between 50-80 PSI (pounds per square inch). Too much pressure can damage your pipes, while not enough pressure won’t completely clear the lines of water
- After you’ve blown out each outdoor pipeline, release any remaining air by keeping all the faucets closed and opening the backflow valves and main drain valve. Close them again once all air is expelled.
- Double-check that all outdoor faucets are securely closed before finishing up.
7. Maintain a Warm Temperature in Your Home
Keeping your home above 60°F throughout winter may seem like common sense, but some homeowners might not realize that some parts of their house (like the basement) are much colder than the rest. If you have any leaks or drafts, taking preventative measures to seal them with caulk or weatherstrips can prevent pipes from freezing (and boost your home’s overall energy efficiency).
Also, don’t neglect your thermostat if you take an extended vacation during winter; make sure it stays above 60°F.
8. Make Sure You Have Easy Access to Your Main Water Valve
At this point in your winter prep, you’re probably very familiar with your main water supply valve. Taking a minute or two now to create easy access to it can save precious seconds in the case of an emergency. If any plumbing issue occurs, come straight to the main valve and shut it off to minimize damage.

Protect Your Plumbing and Your Peace of Mind
Winterizing your plumbing is about three main things: protecting your home from disaster, preventing inconvenient disruptions, and saving yourself from costly repairs. By tackling the maintenance tasks on this checklist, you can minimize the risk of frozen pipes, water damage, and inefficiencies throughout the coldest months.
From insulating pipes and flushing your water heater to blowing out your outdoor plumbing system with an air compressor, these steps help safeguard your home and maintain the best possible energy efficiency. A few hours of preparation today can help save you time, money, and stress in the future.
It can take years to learn the skills needed to tackle these jobs. If any of these tasks seem too complicated to complete with confidence, reach out to a professional plumber for assistance.
If you have questions about any of these tasks, the experienced team at Mattioni is ready to help. Don’t wait until it’s too late – schedule a winter plumbing inspection by calling (610) 400-8510 or by booking an appointment directly online.
Enjoy the peace of mind of knowing your home is ready for the season ahead.